5 Secrets to Delicious Peanut Butter Chocolate Bars with Crust
Table of Contents
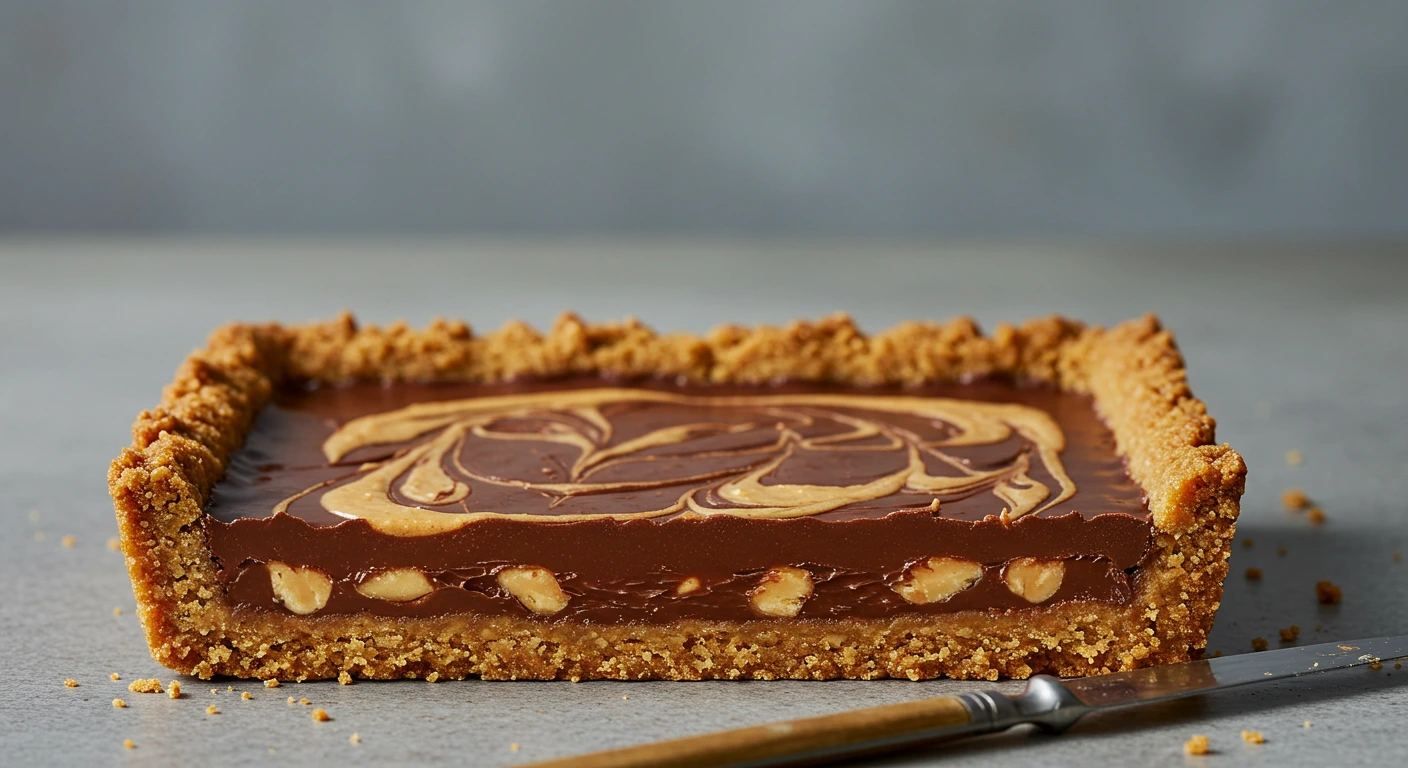
Are you tired of peanut butter chocolate bars that fall apart or have a soggy, unappetizing crust? Nothing is more disappointing than biting into what should be a decadent treat only to find it doesn’t live up to expectations. These 5 Secrets to Delicious Peanut Butter Chocolate Bars with Crust will transform your dessert game forever. With the perfect balance of crispy crust, creamy peanut butter filling, and rich chocolate topping, these bars will melt in your mouth and leave everyone asking for your recipe.
As a pastry chef who has specialized in bar desserts for over a decade, I’ve perfected this recipe through countless tests and refinements. The techniques I’m sharing today will ensure foolproof results every time. Read on to discover ingredient selection tips, preparation hacks, storage recommendations, and versatile variations to make these bars your signature dessert.
Why This Peanut Butter Chocolate Bars Recipe Works
- Uses simple pantry staples you likely already have on hand
- No-bake crust option saves time while still delivering incredible texture
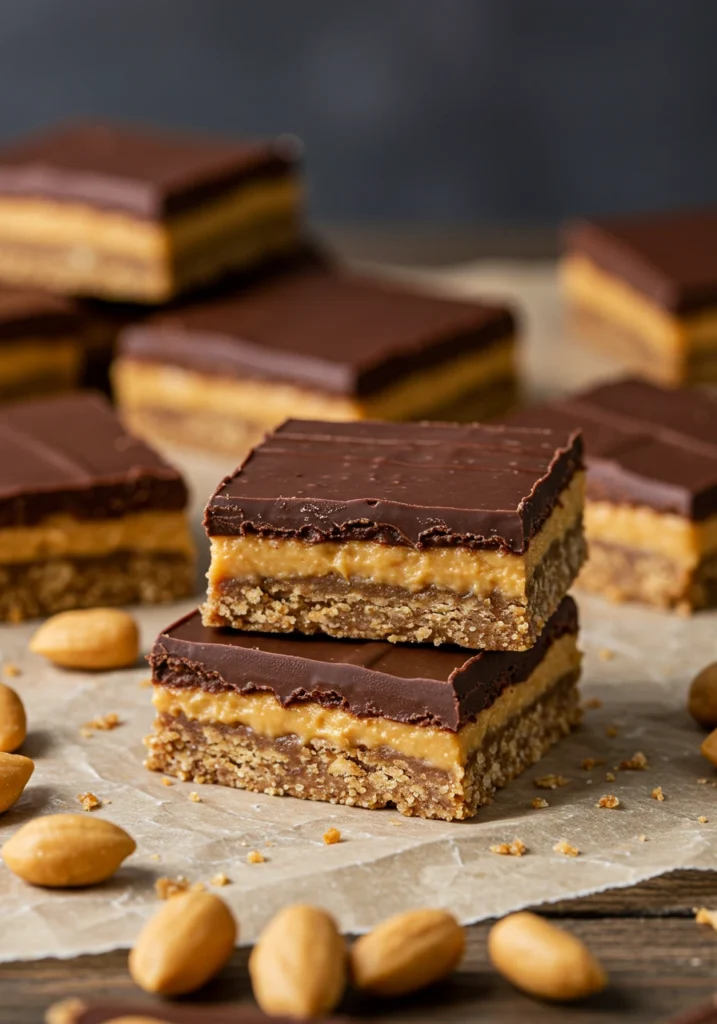
- Three distinct layers create the perfect flavor harmony in every bite
- Can be made ahead for parties or kept for quick dessert cravings
- Adaptable for dietary restrictions without sacrificing taste
Choosing the Right Ingredients

Best Base for the Perfect Crust
The foundation of extraordinary peanut butter chocolate bars begins with the crust. Graham crackers provide the classic honey-kissed flavor that complements peanut butter beautifully, but don’t overlook digestive biscuits for a more robust texture or vanilla wafers for a sweeter profile. For the crispiest results, look for crackers with minimal moisture content and avoid those with soft centers.
Peanut Butter Selection Tips
Not all peanut butter creates equal results in baking. Creamy commercial brands like Jif or Skippy provide consistent texture and sweetness that works perfectly in these bars. Natural peanut butter can separate and create oily bars unless properly emulsified. If using natural varieties, stir thoroughly and consider adding an extra tablespoon of powdered sugar to maintain the right consistency.
Chocolate Choices
For the glossy top layer, opt for high-quality chocolate with at least 50% cocoa solids. Semi-sweet chocolate chips melt beautifully, but chopped chocolate bars will give you a smoother finish. White chocolate or butterscotch chips can be swirled in for visual appeal and flavor contrast.
Ingredients & Prep
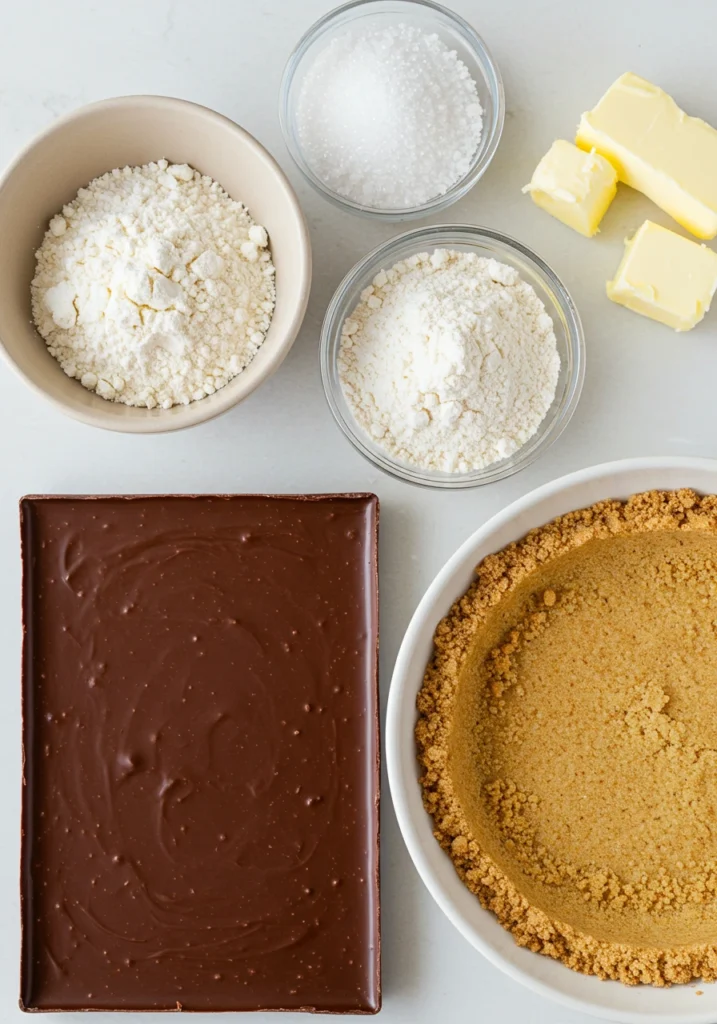
Crust Essentials
- 2 cups graham cracker crumbs (about 16 full sheets)
- 1/2 cup unsalted butter, melted
- 3 tablespoons granulated sugar
- 1/4 teaspoon salt (secret ingredient that enhances flavor)
Pulse graham crackers in a food processor until fine, or place in a ziplock bag and crush with a rolling pin. Mix with remaining ingredients until evenly moistened.
Peanut Butter Filling Components
- 1 cup creamy peanut butter
- 1 cup powdered sugar
- 1/2 cup unsalted butter, softened
- 1 teaspoon vanilla extract
- Pinch of salt
Let butter reach room temperature naturally for at least 30 minutes before mixing for the smoothest texture.
Chocolate Topping Ingredients
- 1 1/2 cups semi-sweet chocolate chips
- 3 tablespoons creamy peanut butter (secret mix-in that prevents chocolate from cracking when cut)
- 1 tablespoon unsalted butter
Step-by-Step Cooking Instructions
Crust Preparation
Press the graham cracker mixture firmly into a 9×9 inch square pan lined with parchment paper, creating a consistent layer. Use the bottom of a measuring cup to compress the mixture evenly. For the crispiest results, bake at 350°F for 8-10 minutes until lightly golden, or refrigerate for 20 minutes for a no-bake option.
Creating the Peanut Butter Layer
Beat softened butter and peanut butter together until completely smooth, about 2 minutes. Gradually add powdered sugar, vanilla, and salt, mixing on low speed first to prevent a sugar cloud, then increasing to medium-high for 3 minutes until fluffy. Spread this mixture evenly over the prepared crust, using an offset spatula for the smoothest finish.
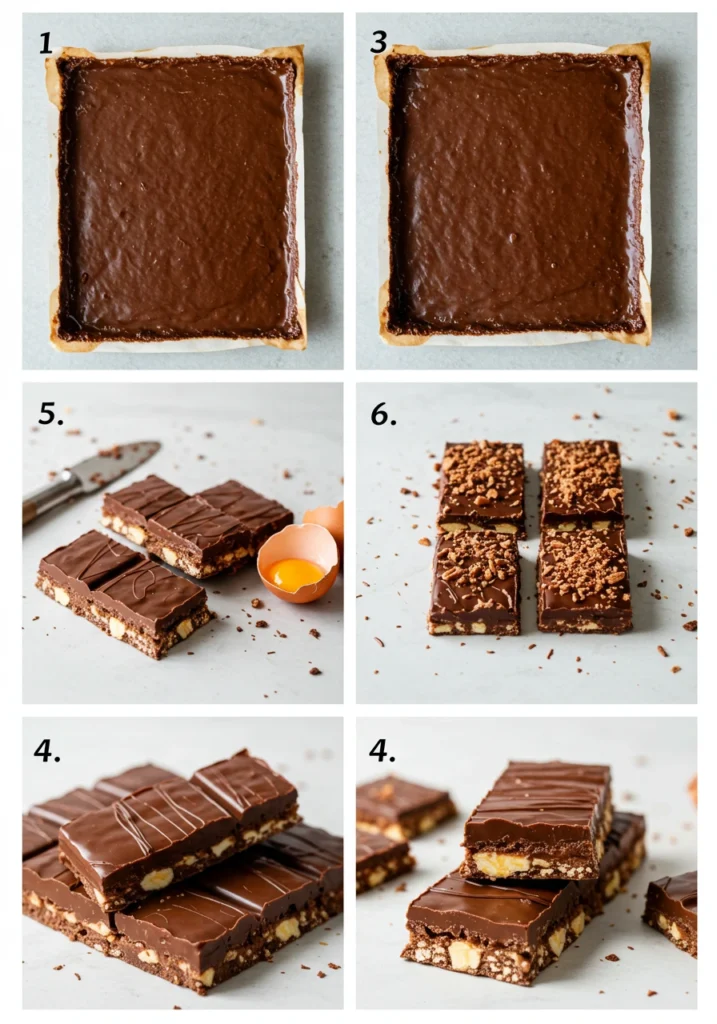
Perfecting the Chocolate Topping
Melt chocolate chips, peanut butter, and butter in a microwave-safe bowl in 30-second intervals, stirring between each until just melted. Alternatively, use a double boiler for more controlled melting. Pour over the peanut butter layer and gently tilt the pan to create an even coating. For professional-looking bars, let the chocolate set slightly (about 5 minutes) before creating swirl patterns with the tines of a fork.
Setting and Cutting
Refrigerate the assembled bars for at least 2 hours, or ideally overnight. The secret to clean cuts is to let the bars stand at room temperature for 10 minutes before cutting with a sharp knife dipped in hot water and wiped clean between slices.
Pro Tips for Perfect Peanut Butter Chocolate Bars
Avoiding Common Mistakes
- Use room temperature ingredients for the filling to prevent lumps
- Don’t overwork the crust mixture or it will become tough
- Never rush the cooling process or layers will slide apart
- Store in the refrigerator but serve at room temperature for best texture
Tool Recommendations
A 9×9 square pan with straight sides creates professional-looking bars. Parchment paper with overhang makes removal effortless. An offset spatula is invaluable for creating perfectly smooth layers.
Storage & Freezing
These bars keep beautifully in an airtight container in the refrigerator for up to 1 week. For longer storage, cut into individual portions and freeze between layers of parchment paper for up to 3 months. Thaw in the refrigerator overnight before serving.
Flavor Variations
Decadent Enhancements
Transform your basic peanut butter chocolate bars by adding a thin layer of caramel between the peanut butter and chocolate layers. For extra crunch, sprinkle 1/2 cup of chopped peanuts or toffee bits over the chocolate while still soft.
Dietary Adaptations
Make gluten-free bars by substituting gluten-free graham crackers or cookies for the crust. For a lower-sugar version, use natural peanut butter and dark chocolate (70% cocoa or higher), and reduce the powdered sugar to 3/4 cup.
Seasonal Twists
Add holiday appeal with crushed candy canes sprinkled over the chocolate layer for Christmas, or orange zest in the peanut butter filling for a fall flavor profile. For summer gatherings, try a sprinkle of flaky sea salt over the top to enhance the chocolate-peanut butter contrast.
Serving Suggestions
These rich peanut butter chocolate bars shine when paired with a cold glass of milk or a scoop of vanilla ice cream. For an elevated dessert experience, serve with coffee or espresso to balance the sweetness. Cut into bite-sized pieces for an elegant addition to dessert platters.
FAQs
Can I use crunchy peanut butter instead of creamy?
Yes, crunchy peanut butter creates a textural contrast that many people enjoy. You may need to add 1-2 extra tablespoons of powdered sugar to achieve the same consistency.
Why did my chocolate layer crack when I cut the bars?
This typically happens when the bars are too cold. Allow them to stand at room temperature for 10-15 minutes before cutting, and be sure to include the peanut butter in your chocolate layer as it helps keep the chocolate pliable.
Can these bars be made ahead for a party?
Absolutely! These bars actually improve with a day of rest in the refrigerator as the flavors meld together. They can be made up to 3 days in advance.
Conclusion
Now that you know the secrets to making incredible peanut butter chocolate bars with crust, it’s time to head to your kitchen and create this crowd-pleasing dessert. The combination of crispy crust, creamy peanut butter, and rich chocolate creates an irresistible treat that will have everyone coming back for seconds.
Join thousands of home bakers who have made these peanut butter chocolate bars their signature dessert! If you love these, you’ll also want to try our related recipes for No-Bake Chocolate Coconut Bars or Triple Layer Chocolate Mint Squares.